Whether you are installing or upgrading in a new interior space, conducting a site survey is the first essential step for any renovation project. A site survey should be precise and thorough because all measurements taken at this point will be a resource later-on for designing, building, lighting, flooring, etc. As SR/A Interior Design’s junior architect, Wrishmina Zurmati performs measured surveys – measuring inside of buildings and drawing up detailed plans and elevations. Although there are many ways to conduct a site survey, here is her comprehensive guide and tips for completing a successful site survey.
Before the survey:
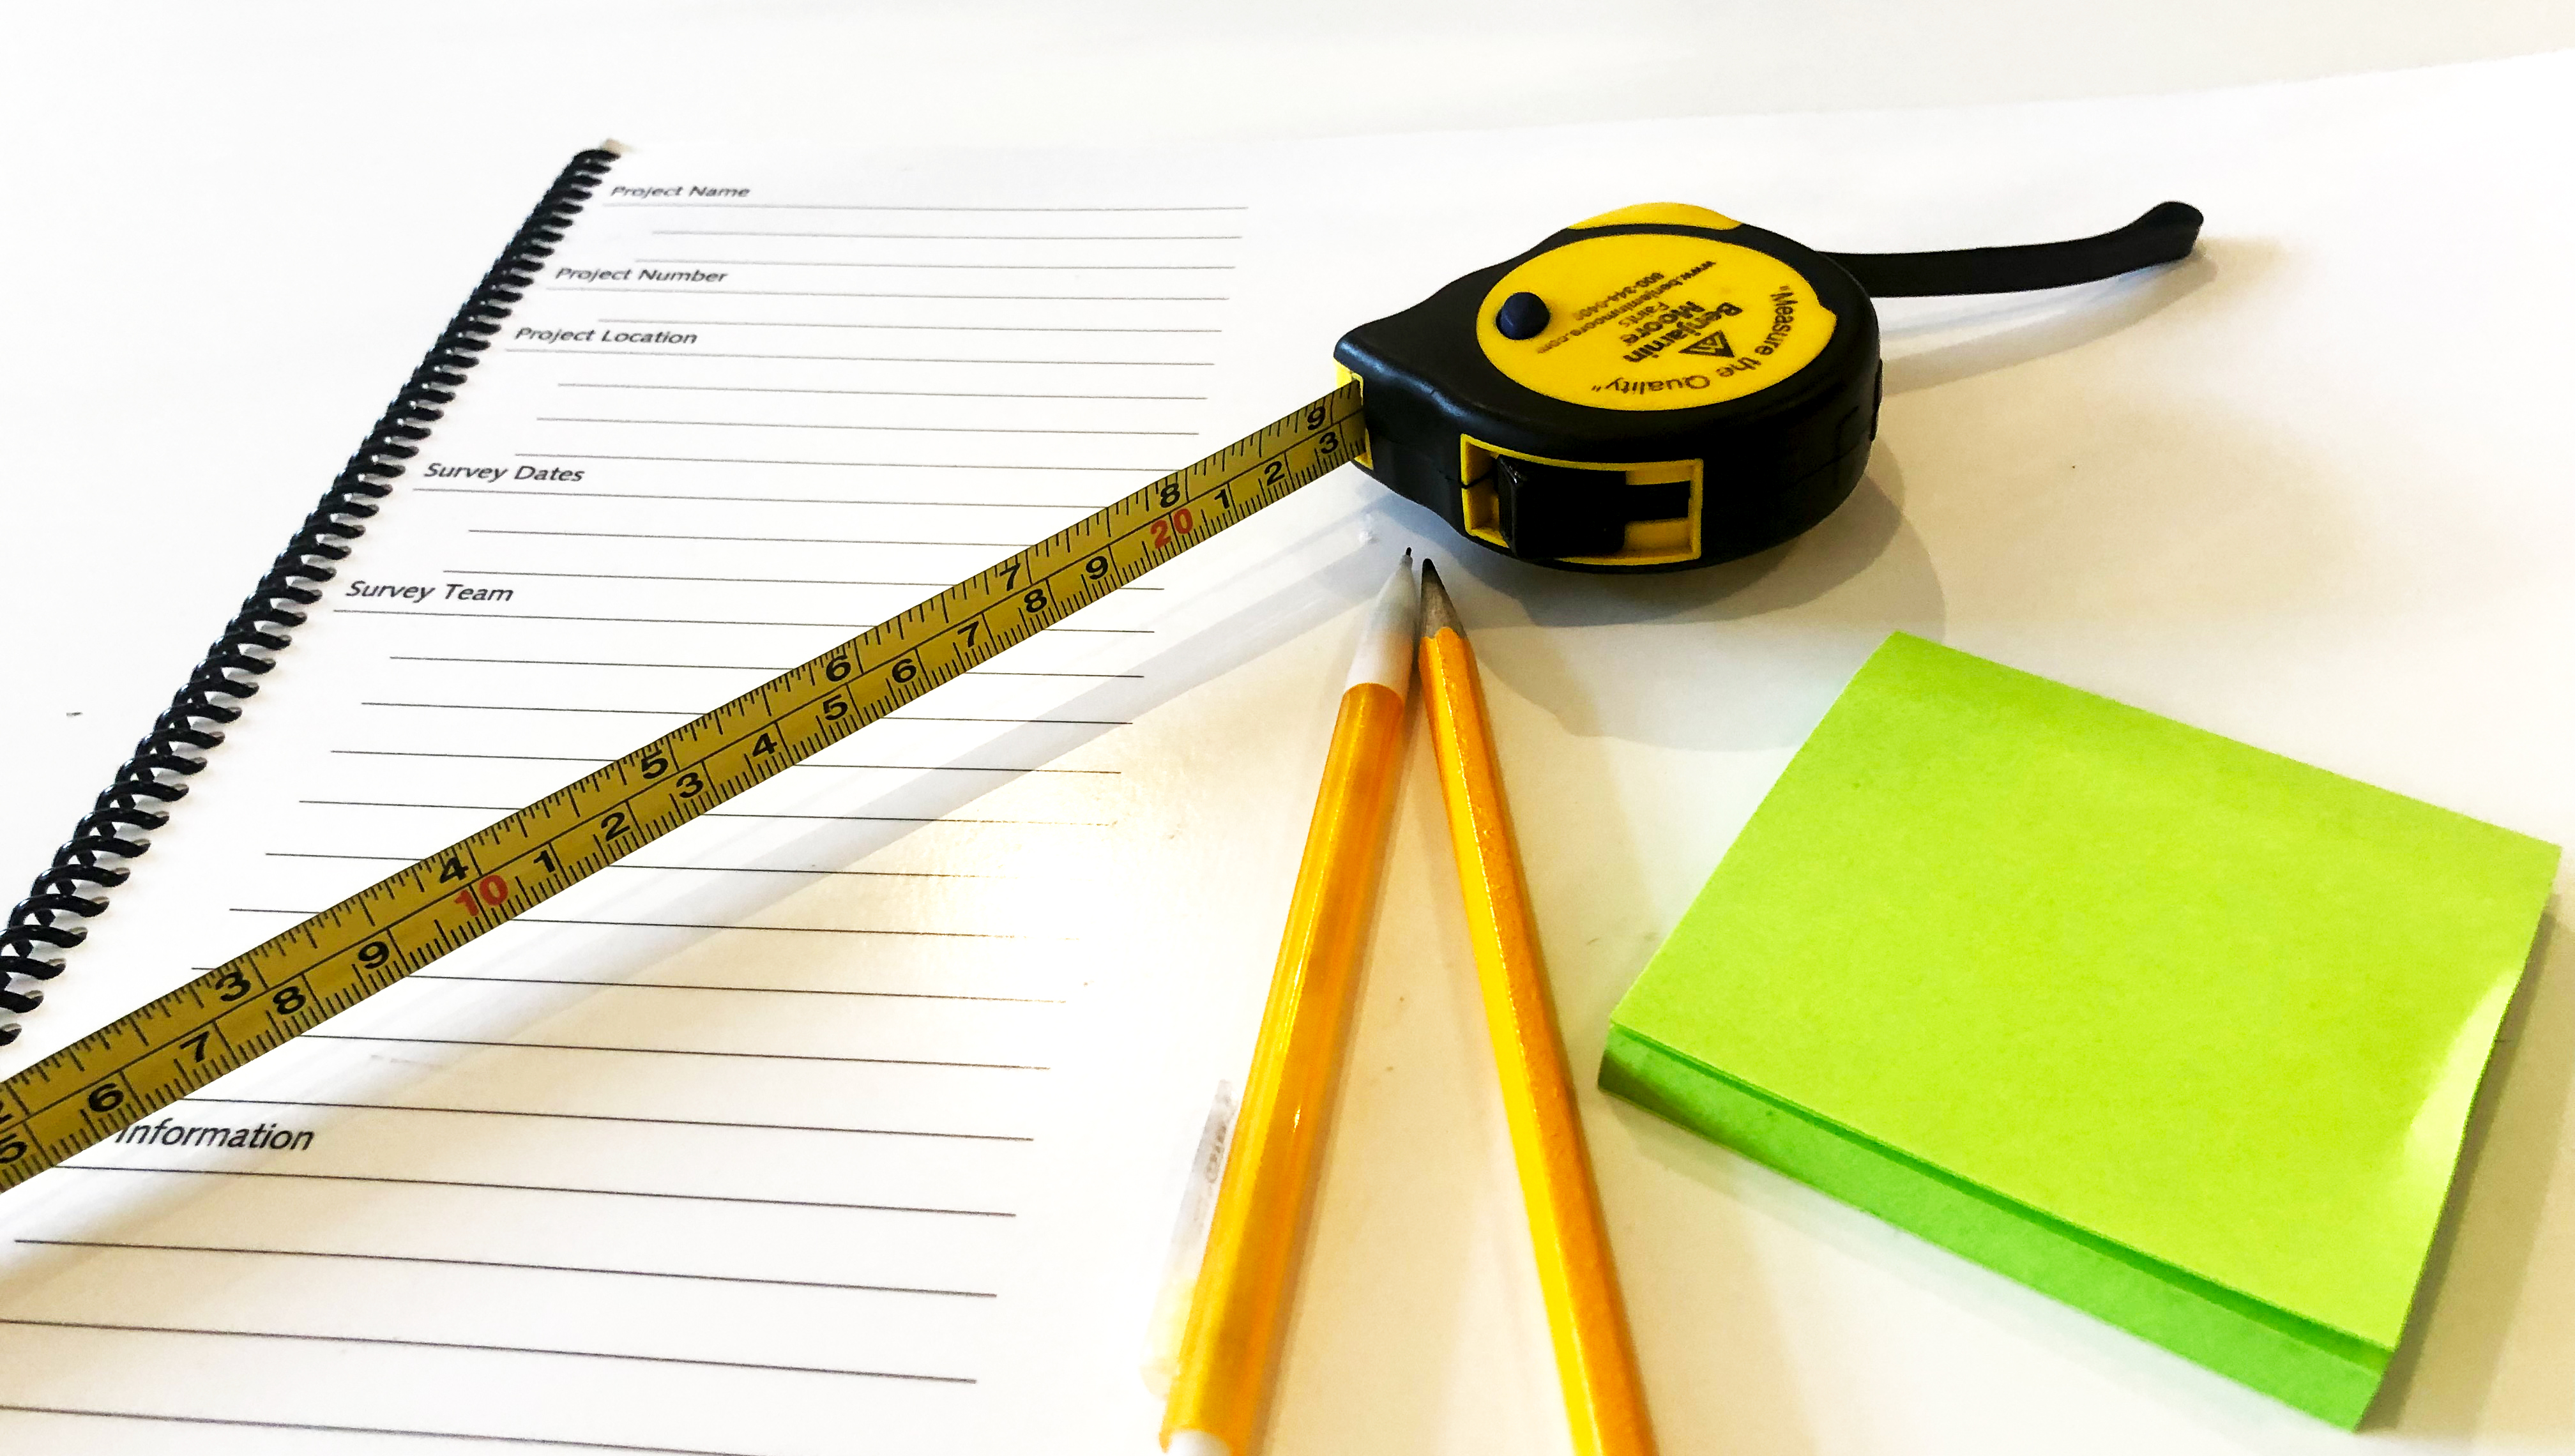
- Make an equipment checklist: Laser measure, Tape measure, Clipboard, Paper/survey book, Pens and Pencils, Camera or smartphone, Personal Protective Equipment (Depending on the site)
- Do Research: Before going to the site, find out as much information about the building as you can. It is important to have contact information of the person in charge of granting building access. Next, check-in with the owner to find out if they have existing architectural drawings and take a look at the first site proposal (if there is any). It’s nice to arrive at the site with pre-existing knowledge and a bit of an understanding of the building. It is also important to know why you are measuring the building, as this will help determine how detailed your last drawings will need to be. Are you only required to draw plans? Or will you need elevations? Is the drawing for internal renovations or external extension? Will you need visuals? If so, always take good photos!
- Make a list of the places you need to measure and what needs to be documented. As we must recreate the entire space in 3D, it’s better to have any extra information, than to miss small details in the places we had not considered. Here are some starting points below:
- Walls: Dimensions and angles (if not 90 degrees), Finishes, Opening widths, Heights and locations relative to other elements, Door swing directions, Column dimensions and distances from walls.
- Ceiling: Heights and changes in height.
- Lights: Ceiling light locations and rough sizes, Heights to bottom of any pendants, Sconce locations in plan and elevation and Sconce rough sizes.
- Cabinetry: Counter top heights, Type (door/drawer) and width of each unit, Finishes, Toe kick height
- Flooring: Finishes, Wall base finish and height, Any Finish and wall base transition locations.
- Hardware: locations and dimensions, “Wall acne” that is required by code (strobes, exit signs, no smoking signs, etc.), ADA door actuators if applicable.
- Unique conditions: If it’s weird, document it and take pictures.
During the survey:

- Arrival on site: The first thing to do is to have a look around the entire building so that you can get a feel for the full layout. This will be helpful when you start to draw out the building.
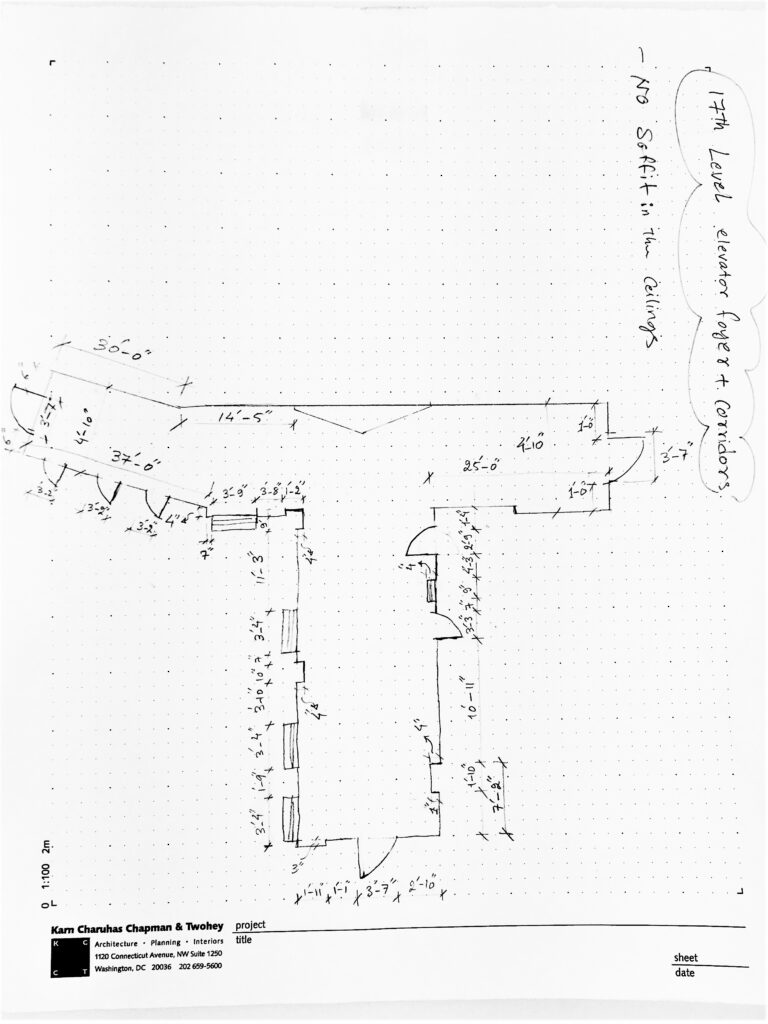
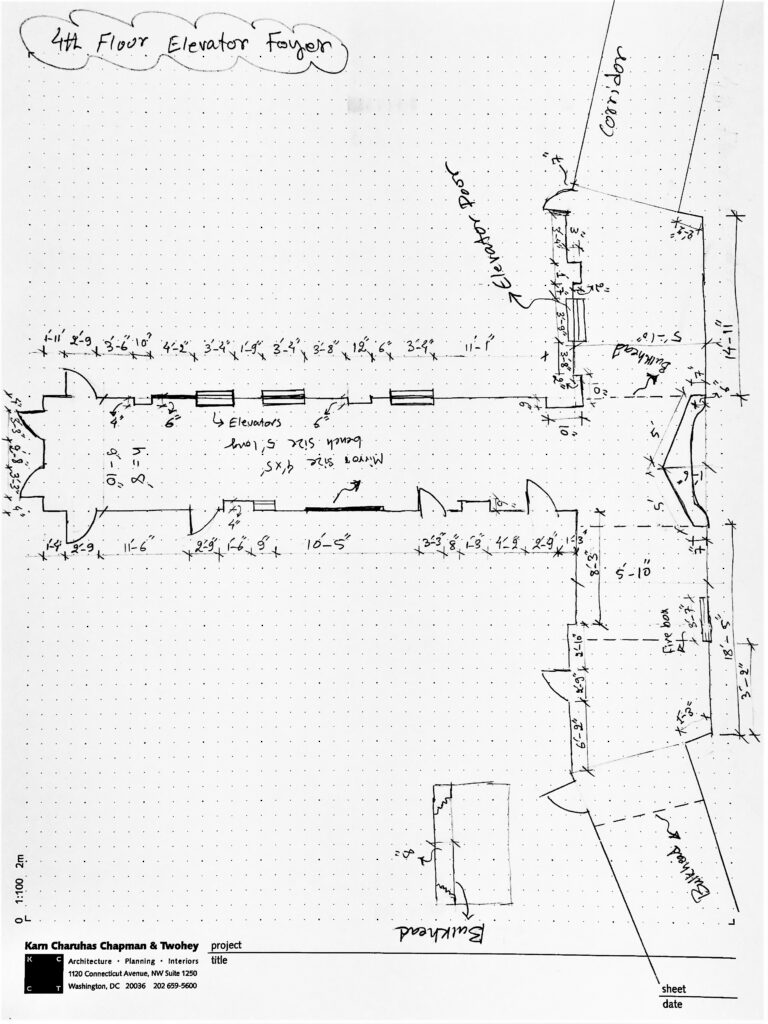
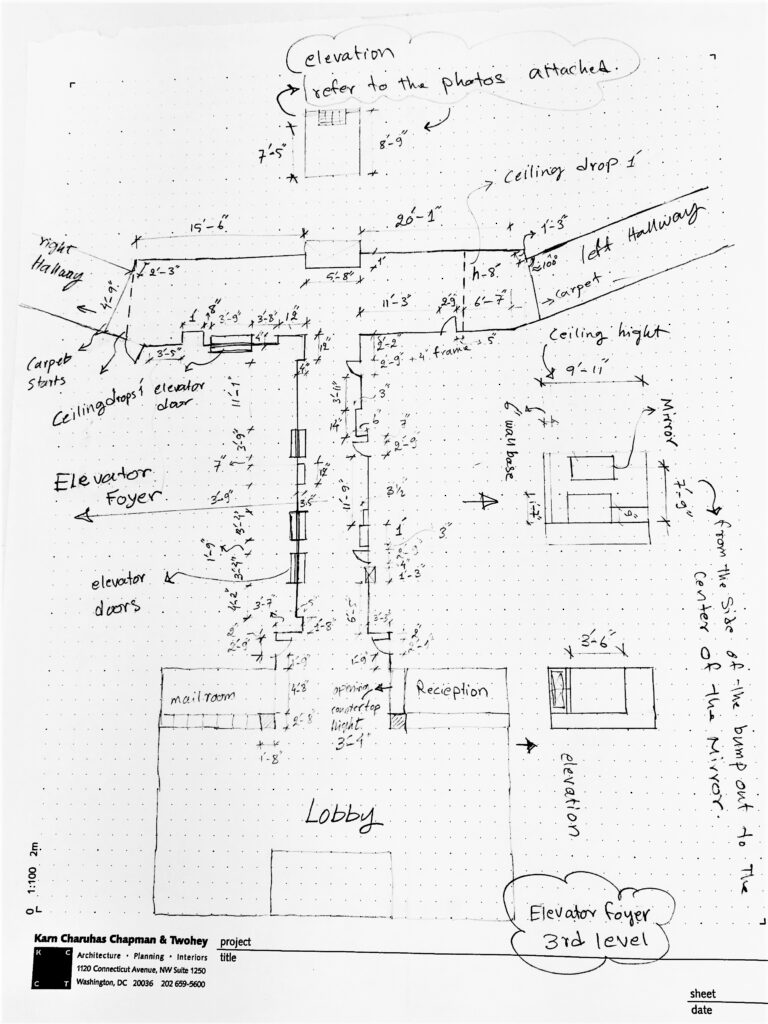
- Sketch out: Depending on the size of the building, break it up into sections. Each page should consist of one section so that you can draw it out at a large enough scale to add your measurements. For instance, if I am about to survey the lobby and then the hallways, I use one page for the lobby and one for each hallway. You can either draw each section as you go – draw, measure, next area, draw, measure, next area, etc. Or you can draw out the whole building then go around and take your measurements. I like the “draw, measure, next area” method. Make sure you label your notebook or sheet of paper with the project name and either room name, section of the building, or floor number, etc. It might seem obvious now, but when you have pages of survey drawings, sometimes it is difficult to figure out what is what. You may also eventually find out later that someone else will be drafting the survey, so make sure everything is well labelled and noted. Here are a couple of my drawings!


3. Measure: Start your measuring in one corner of the room and work your way around in a clockwise or counterclockwise direction. It is wise to take overall measurements of the length and width of the space to help with accuracy. Draw where elevations are needed and write down the measurement and locations for each object on the walls.
4. Take Photos: Usually, after measuring either a room/area, I then photograph the entire room – focusing on any difficult or complicated areas. It is always a great help when you are back at your desk trying to draw up the sketches. In some cases, I will take a video of each room which is quite useful as you can pause it to check any particular details.
At the end of the survey:
- Review your checklist of the space measurement, make sure there aren’t any missing measurements and that all the areas are measured thoroughly.
- When leaving, make sure you have all the equipment you took to the site with you.
- After returning back to office, take a look to compare the pictures with the sketches, and add details if needed.
About the Author:
Wrishmina Zurmati is a Junior Architect at SR/A. She resides in Bethesda Maryland. Ms. Zurmati primarily works on preparation of design documents and drawings, and site surveys.